How to Keep Graffiti from Ruining Your Building
When building a public restroom, one does not only consider the people that will use the restroom.
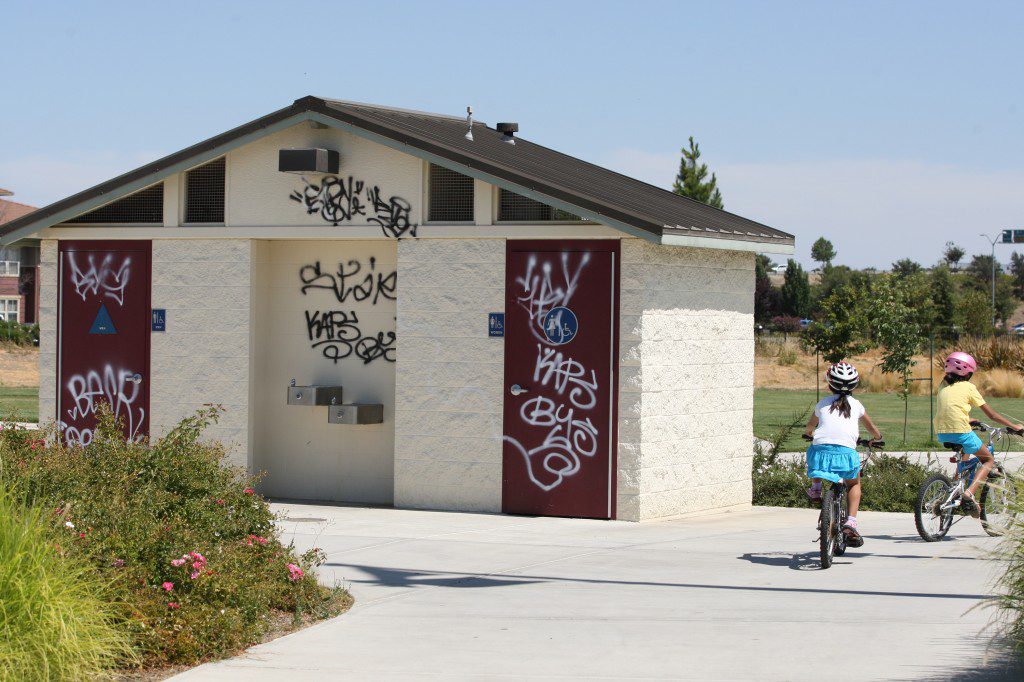
There is another group of people that need to be considered and prepared for: vandals, arsonists, thieves looking for scrap, or someone bored with a hammer are all examples of the nightmare vandalism scenarios facing public restrooms. These particular examples can be defended against by making the buildings out of durable materials such as precast concrete or masonry block. There is one form of vandalism, however, that cannot be defended against. That vandalism is graffiti.
Graffiti can be tagged on easily by anyone possessing a marker or can of spray paint. While paint and ink do not threaten the structural integrity or function of a restroom, they do negatively affect the appearance which is an important aspect with any facility being used by the public. Even a few marks can stick out and ruin the looks of an otherwise good looking building.
So what does one do about graffiti? If it cannot be outright protected against then what is one to do? The answer seems to be graffiti removal. We are not experts in graffiti removal and thankfully we haven’t needed to be as vandals have not yet picked on any of our restrooms. Unfortunately, luck does not last forever. So we decided to prepare for that dreaded inevitable by educating ourselves on graffiti remover.
We set out to learn by doing. We slapped on some spray paint and marker pen on some common building materials. Then we tested out the effectiveness of different graffiti removal products graciously provided by the “World’s Best Graffiti Removal System”. Our findings can most naturally be shared by showing the before and after photos of our graffiti removal experiments.
CONCRETE TEST
First we wanted to see the effect of using a protective coating on a piece of concrete. The coating did give a more mat look to the block but it did not negatively affect the look of the block. Ordinarily it would be applied evenly across the whole surface so there would not be a contrast.After a liberal application of graffiti remover we were left with this. The coated side still has a little bit of a shadow but much less than the uncoated side.
A shadow remover was used to clean up the remaining spray paint. Only a hint of the blue spray paint remains on the uncoated side.
FRP (Fiber Reinforced Plastic) TEST
This next material we experimented on was a smooth non-porous material called FRP (Fiber Reinforced Plastic). It is found on the interior of a restroom where permanent markers are the likely variety of graffiti. Regular soap and water was attempted but did not remove any of the mark.
WOOD TEST
This plywood had two coatings of a stain applied with a protective coating added to the left side. Then we added the red “X”. This plywood had two coatings of a stain applied with a protective coating added to the left side. Then we added the red “X”.The graffiti remover did remove much of the “X” but it left a noticeable shadow and took off some of the stain. The protective coating did not appear to make a difference. Further work needed to be done to conceal the graffiti. The area was re-stained without any of the previous graffiti showing through. Had the “X” simply been stained over without first using the remover then the red “X” would have still been visible. It should be mentioned that even if the new and old stains are identical in color, there is still the possibility of a noticeable difference between the area painted over and the area not painted over. This is because paint can fade over time and the new coat obviously will not be faded causing an unattractive difference in color richness.
CONCLUSIONS
Overall, the graffiti remover improved the situation. It was not effective in every situation but it worked well enough to recommend the “World’s Best Graffiti Removal System” to any of our customers unlucky enough to need it.
We are by no means professional graffiti removers. Someone else might come up with even more favorable results from using the same graffiti remover. We are also not the only source of information regarding this issue. The “World’s Best Graffiti Remover” has an abundance of video evidence showing the effectiveness of its products. However, when removing graffiti, one should consider their own ability to use the product when setting expectations.
The protective coating had a favorable effect on the concrete block. It was ineffective on the stained plywood. If the surface is already painted then the best option is usually just to paint over it. If the surface is not painted then the next best option is to use graffiti remover. As mentioned above, if the paint/stain job is old, even matching paint/stain could potentially stand out and look out of place.
Stain cannot simply be stained over after it has been “tagged” by a vandal. Paint, however, can be painted over without any graffiti showing through and without the use of remover. With painted facilities, graffiti will be an easy issue to address assuming color matching paint is easily available. Note: putting another coat of paint on will require a coat of primer.
The surface easiest to remove graffiti from is the non-porous plastic or powder coated materials. It was one of only two surfaces where graffiti was completely removed (the one other exception was the concrete block with the protective coating).
at info@greenflushrestrooms.com or Urban Restoration Group US. Inc., the makers of the “World’s Best Graffiti Removal System”, at sales@graffitiremovalinc.com.